
If you’ve ever dreamed of running your own online store but assumed it would take days (or weeks) to set up, you’re in for a surprise. Thanks to platforms like Squarespace, you can launch a beautifully designed, fully functional e-commerce website in under an hour—even if you’re not a tech expert.
In 2025, Squarespace remains one of the most user-friendly website builders on the market. It combines intuitive drag-and-drop editing, mobile responsiveness, and built-in e-commerce tools so you can focus on selling—not coding.
This guide walks you through every step to go from zero to live store in less than 60 minutes.
1. Why Choose Squarespace for E-Commerce?
Before we dive into the step-by-step tutorial, here’s why Squarespace is a solid choice for launching an online store quickly:
✅ All-in-One Platform
You don’t need to install third-party plugins for payments, hosting, or analytics—it’s all included.
✅ Beautiful, Mobile-Friendly Templates
Squarespace templates are optimized for visual product displays and responsive on every screen.
✅ Fast Setup
With a guided wizard, pre-built layouts, and simple settings, you can go from blank slate to fully-functioning shop fast.
✅ Built-In Tools
Inventory, digital products, bookings, customer accounts, discounts, email marketing, SEO—all in one dashboard.
✅ Secure and Scalable
SSL is included. Whether you sell one product or 10,000, Squarespace can grow with you.
2. What You Need Before You Start
Even though you can build your site quickly, preparing the following in advance will save time:
- Product Details: Name, description, price, category, and product images.
- Store Name/Branding: Logo (optional), brand colors, and fonts.
- Payment Info: Business bank account or PayPal for setup.
- Shipping Info: If you’re shipping physical products, plan pricing and zones.
- Legal Copy: Privacy policy, return policy, terms of service (can be placeholders to start).
- Domain Name (optional): You can buy one through Squarespace or connect an existing one.
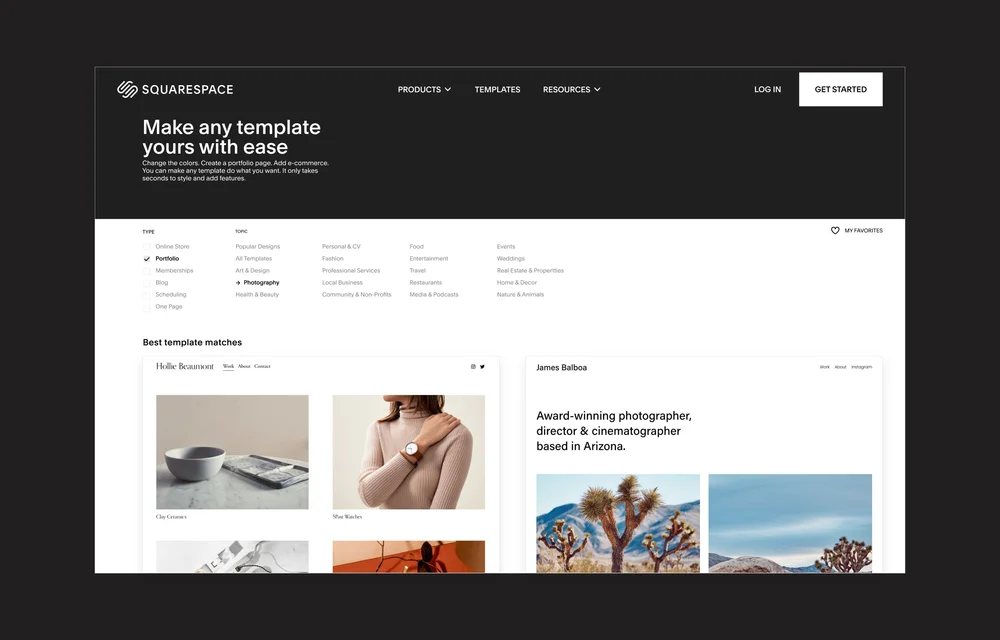
3. Step 1: Sign Up and Choose the Right Template (5 mins)
Visit Squarespace.com and click “Get Started.”
Pick a Template:
Choose a template optimized for e-commerce. Look for one that:
- Highlights products front and center.
- Offers quick-loading galleries.
- Is mobile responsive.
Recommended E-commerce Templates (2025):
- Rally – Best for general stores with bold imagery.
- Paloma – Clean and modern, perfect for lifestyle brands.
- Clarkson – Great for minimal, high-end shops.
- Brine (still going strong) – Flexible and customizable.
Once you pick a template, Squarespace will ask you a few questions (store type, goals) and generate a layout for you. Don’t worry—you can change your template or customize everything later.

4. Step 2: Set Up Basic Site Info (5 mins)
Once inside the builder, head to:
Settings > Site Availability > Site Title
Enter:
- Store Name
- Site Description (can help SEO)
- Logo (optional)
Other Key Edits:
- Navigation Menu: Rename or hide default pages.
- Favicon: Upload a 32×32 icon to represent your site on browser tabs.
- Social Links: Add your Instagram, Facebook, or TikTok links.
Squarespace’s intuitive interface allows you to click on any element (text, image, button) and edit it directly.
5. Step 3: Add Products to Your Store (10 mins)
Navigate to:
Commerce > Inventory > Add Product
You’ll choose from:
- Physical
- Digital
- Service
- Gift Card
Add the following for each product:
- Product Name
- Price
- Description
- Images (high quality, ideally 1200px wide)
- SKU (optional)
- Variants (e.g., sizes or colors)
- Stock Level (optional)
You can group items into categories and feature selected items on the homepage or store page.
6. Step 4: Customize Your Design (10 mins)
Click “Design” in the left panel to edit layout, colors, fonts, and more.
Focus Areas:
- Header: Add logo, navigation, and cart icon.
- Homepage: Feature bestsellers or a hero banner with call-to-action (CTA).
- Shop Page: Adjust the product grid layout.
- Footer: Add links to privacy policy, returns, and newsletter signup.
Squarespace uses content blocks, so you can drag in:
- Image galleries
- Buttons
- Testimonials
- Newsletter sign-up forms
- Videos
You can even customize the product detail page layout for a better customer experience.
7. Step 5: Set Up Payment Processing (5 mins)
To get paid, you need to connect a payment processor.
Go to:
Commerce > Payments
Choose one or more:
- Stripe – For credit/debit card payments.
- PayPal – Popular for digital goods and global sales.
- Square – For syncing in-person and online sales.
Tips:
- Make sure your account is verified (bank account linked, email confirmed).
- Test payments with a $0.01 product or discount.
8. Step 6: Configure Shipping Options (5 mins)
Go to:
Commerce > Shipping
Choose your fulfillment strategy:
- Flat Rate Shipping – Simple for small inventories.
- Weight-Based Shipping – More accurate but requires product weights.
- Carrier Calculated Shipping – Pulls live rates from UPS, USPS, FedEx, etc.
You can set up shipping zones (e.g., US, Canada, Europe) and different rates for each.
9. Step 7: Enable Taxes and Legal Pages (5 mins)
Squarespace helps automate taxes, especially in the US and EU.
Navigate to:
Commerce > Taxes
- Enable automatic tax calculation via Stripe (if available).
- Set rates manually if your region doesn’t support automatic.
Legal Pages to Create:
- Privacy Policy
- Terms & Conditions
- Refund Policy
- Shipping Info
You can add these as standalone pages and link them in your footer. Use AI or online generators if you’re not ready with your own copy.
10. Step 8: Connect a Custom Domain (Optional, 5 mins)
A branded domain builds credibility. Squarespace gives you a free domain for 1 year with annual plans.
Go to:
Settings > Domains > Get a Domain
Or
Connect an Existing Domain from GoDaddy, Namecheap, etc.
Just follow the step-by-step DNS instructions if connecting externally.
11. Step 9: Test Your Store (5 mins)
Before going live, do a test run:
- Add a product to the cart.
- Go through checkout.
- Test payment processors.
- Try your store on mobile and tablet.
Use the Preview mode or make the site temporarily live under a free subdomain like mystore.squarespace.com.
12. Step 10: Launch & Promote Your Store
Once everything looks and works right, make your site public:
Settings > Site Availability > Public
Promote Your Launch:
- Announce it via social media.
- Use Squarespace Email Campaigns.
- Offer launch-day discounts.
- Run a giveaway or early bird bonus.
Set up:
- Newsletter signup blocks
- Instagram feed
- Facebook Pixel for retargeting ads
13. Advanced Tips for Success Post-Launch
Once your store is live, don’t stop there. Squarespace gives you powerful features to grow.
Email Marketing
- Use Squarespace Email Campaigns for abandoned cart reminders, new arrivals, or sale alerts.
- Offer a freebie (discount or guide) for email signups.
Blogging
- Improve SEO and build brand trust with weekly posts.
- Example: “How We Source Our Eco-Friendly Materials” or “Top 5 Styling Tips with Our New Dresses.”
Analytics
- Track traffic, conversion rate, top products.
- Use heatmaps (e.g., Hotjar) or connect Google Analytics.
Reviews & Testimonials
- Add a testimonial section.
- Use a form for collecting customer feedback.
Upsells and Bundles
- Offer related products on checkout.
- Create product bundles with a discount.

14. Final Thoughts
Launching an online store doesn’t have to be stressful or time-consuming. With Squarespace, you can create a professional store in under an hour—even if you’re brand new to e-commerce.
By following this step-by-step guide, you’ll have a store that:
- Looks polished.
- Is easy to manage.
- Accepts payments securely.
- Is optimized for both desktop and mobile.
- Is built to grow.
Whether you’re selling handmade crafts, digital downloads, prints, or apparel, Squarespace has the tools and design flexibility to help you succeed.
So don’t wait. Start your Squarespace store today—and watch your side hustle turn into a full-time business.